In order to send and receive faxes through your analog fax machine, you will need an Analog Telephone Adapter (ATA). Your ATA will arrive fully provisioned with your fax phone number and account information. The box includes everything you'll need to connect the ATA to your printer.
Step 1: Unboxing
Remove contents from the box and unpack. Inside you will find the Fax ATA device, the power adapter, Ethernet network cable (thick wire) and a standard telephone wire.
Step 2: Get to Know
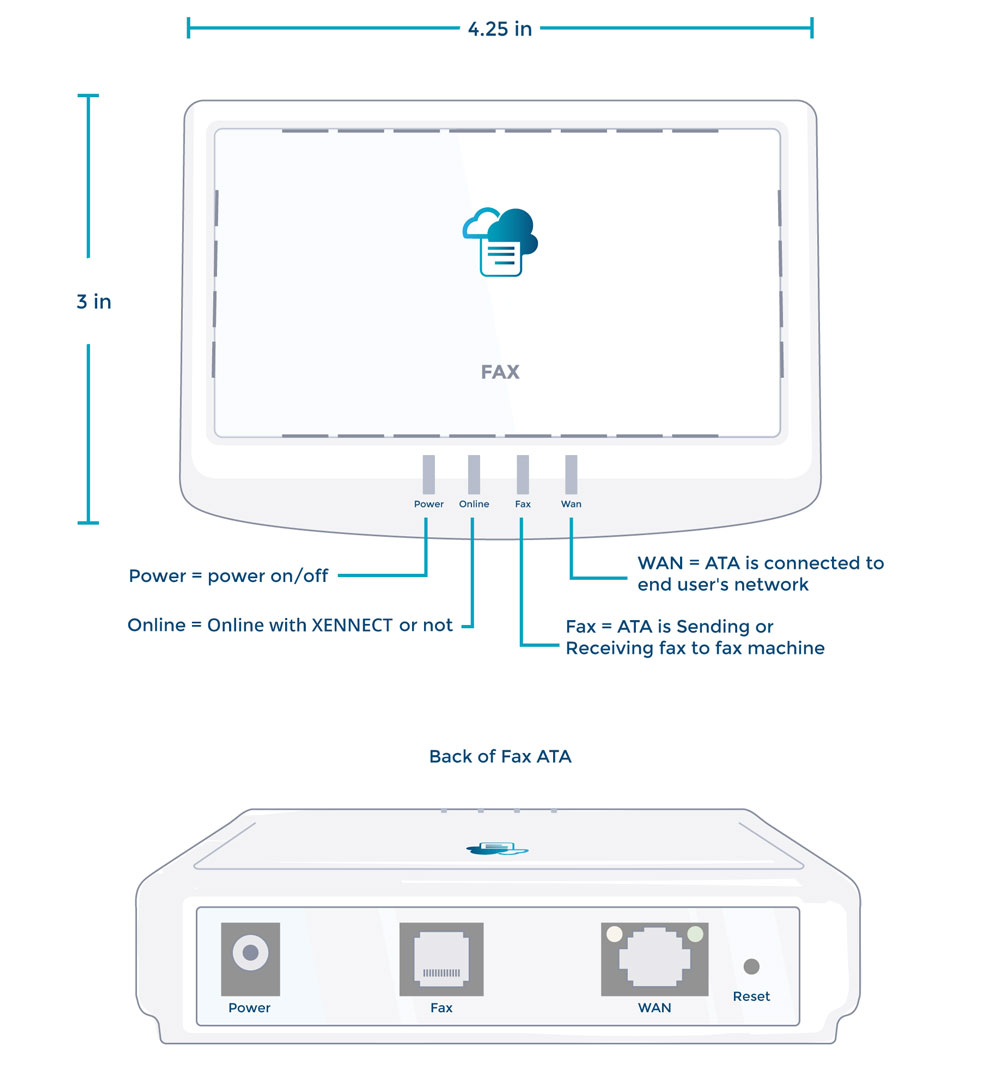
Familiarize yourself with the device. Take a look at the lights in the front of the unit and the ports in the back. Refer to the image below for definitions of each light and the labeled ports in the back.
Step 3: Connect Network
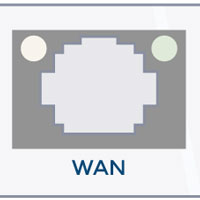
First, connect one end of the provided ethernet cable (thick network wire with ends that look like fat phone plugs) to the data jack located on the wall near your fax machine. If you don't have a data jack available, you may also connect it to a network switch. Either will work, as long as there is internet available. Next, connect the other end of the cable to the port labeled “WAN” in the back of the Fax ATA device.
Step 4: Connect Fax
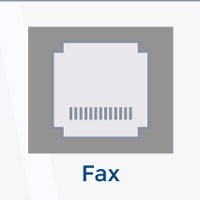
Next, connect one end of the standard telephone cable to the Line port in the back of your fax machine and connect the other end to the port labeled “Fax” on the back of the Fax ATA device.
Step 5: Connect Power
Finally, plug the small circular end of the power adapter into the back of the ATA device labeled “Power” and plug the other end into an electrical wall outlet.
Step 6: Grab a Cup of Coffee
After the unit is powered on, allow 10-15 minutes for the device to initialize and download new firmware. Once the lights on the front of the ATA device (“Power”, “Online”, and “WAN”) are on and green, the device is ready for use.
Pick up the handset of your fax machine or hit the "Hook" button. If you've set everything up correctly, you should be able to hear a dial tone and see the "FAX" light on the ATA turn on and green.
Hang up the handset or press the "Hook" button again, and the "FAX" light should turn off.
Step 7: Turn Off Fax Message
Make sure to turn off Fax completion and confirmation messages on the local Fax Machine because the Fax machine will always think the faxes were delivered properly. If you'd like to receive confirmation messages, please start a chat session from the bottom of any page on our website.
Step 8: Get Faxing
Congratulations! You have successfully set up your fax machine.